Hello,
Before I get into my cardback making tutorial I will show you some of the latest customs I have made.
The Yuthura Ban was not created by me I just carded it, that's why u will not see the DSCustoms logo on it.
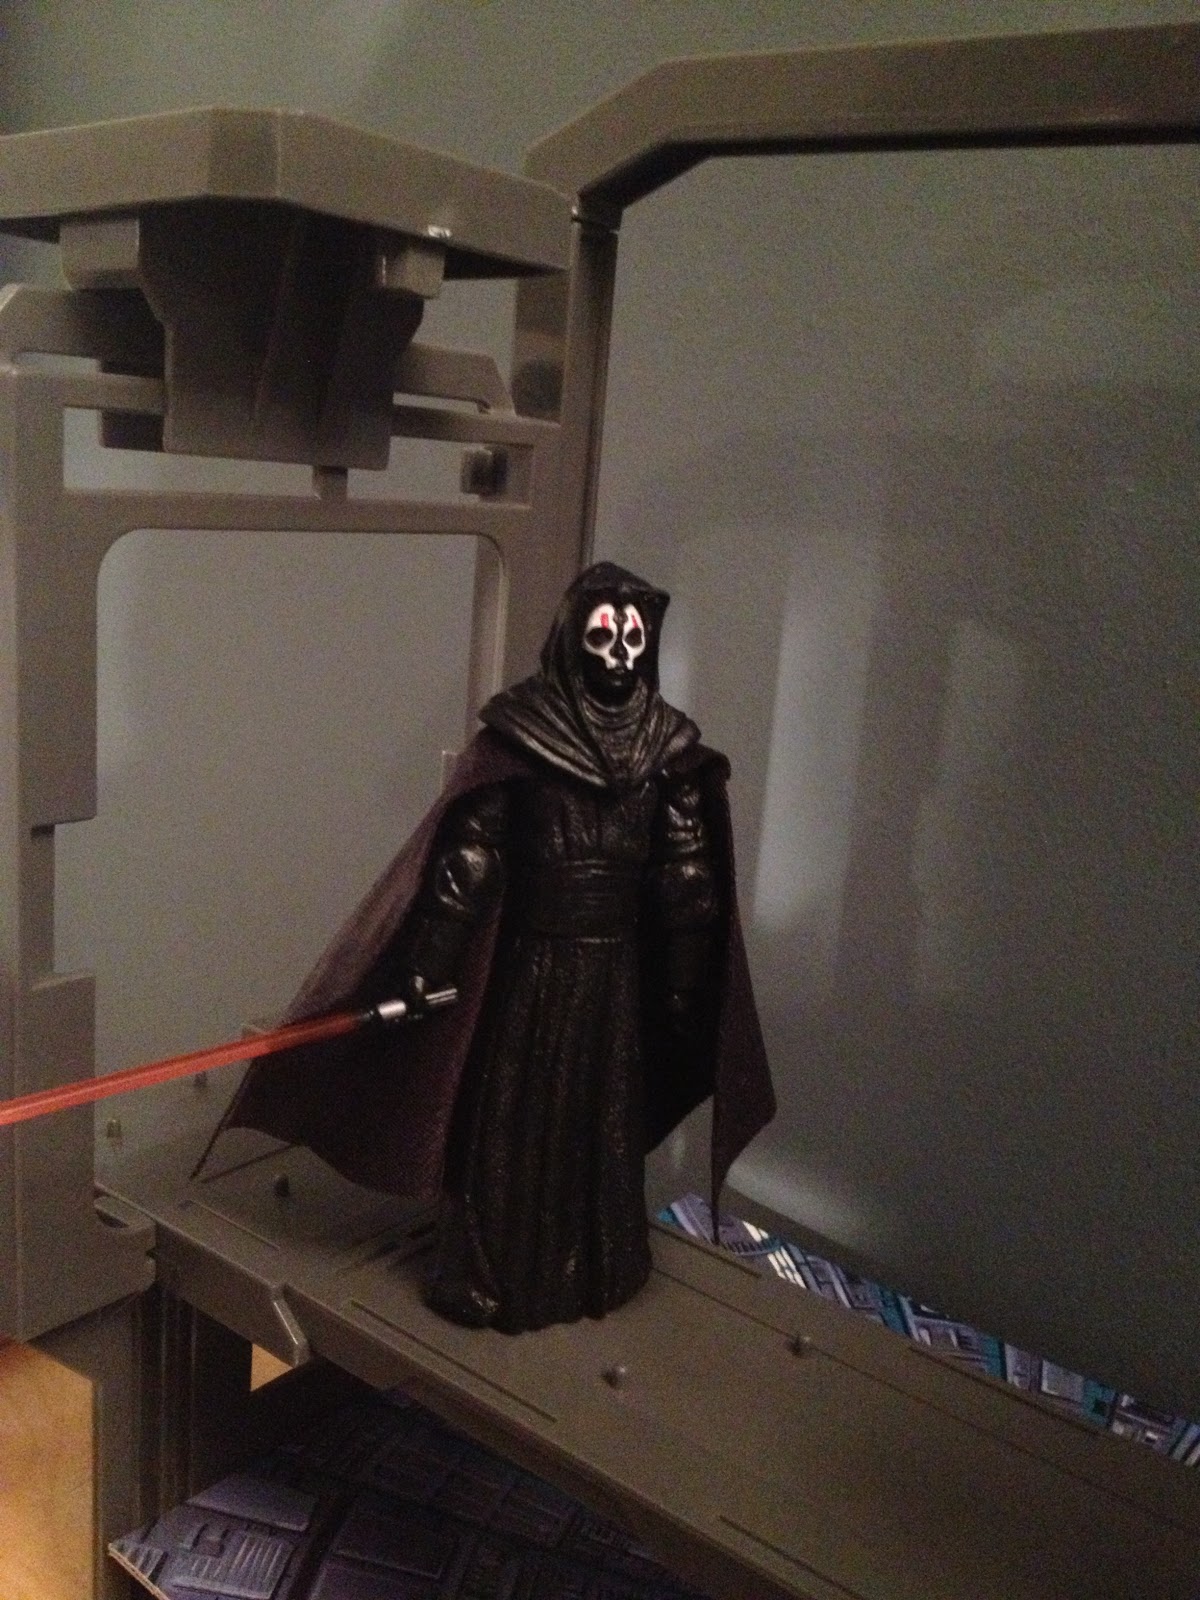
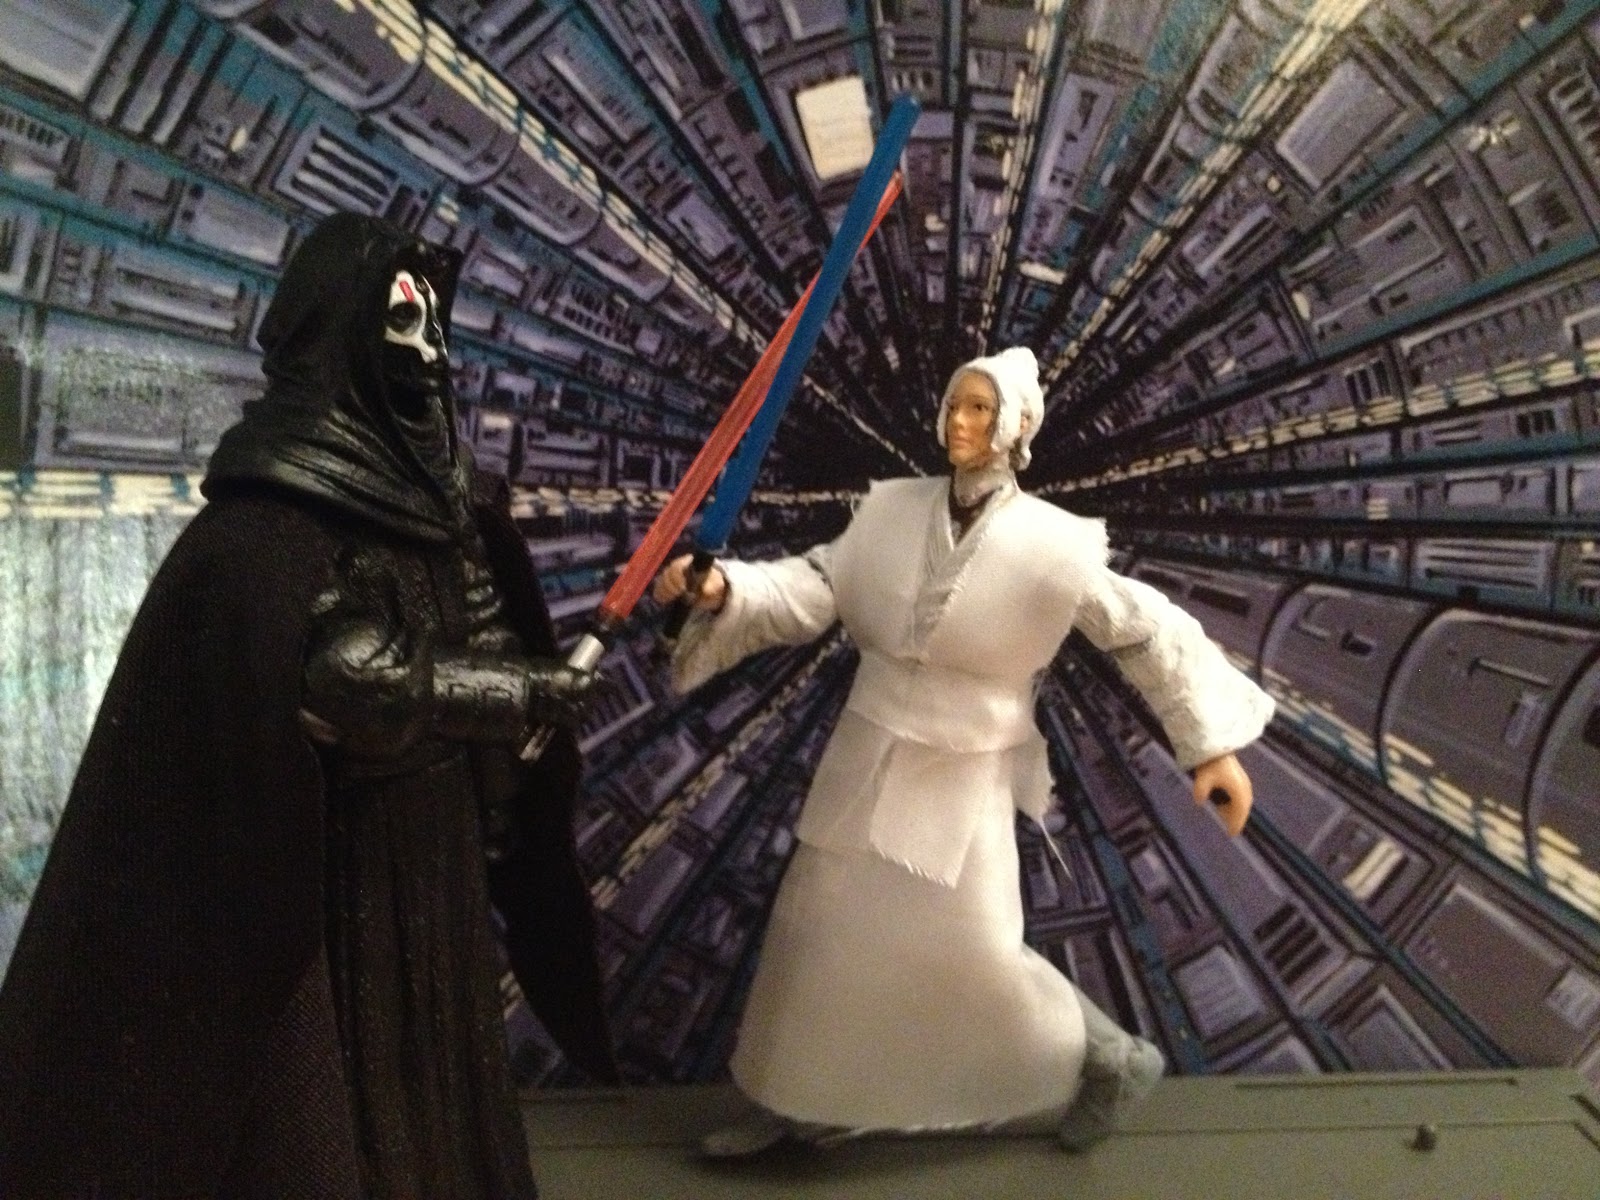
I have (starting from left) Yuthura Ban, Darth Sion alt version, Juhani, Canderous Ordo, next row Zombie Death Trooper, Jedi Master Zao, and Sora Bulq (dark side).
Materials you will need to make a cardback.
1 Scissors
1 Spray adhesive (I am using Loctite)
Comic Book dividers
a decent photo Printer
Photo Paper (if you can use gloss it looks better, I have to use matte due to smudging issues because my printer is cheap)
Photo editing software (photshop(not free) or photoscape(free))
Some kind of glue to mount the back of the blister to the card. (I am using Elmer's model and hobby cement)
Once you have all of this you can start to make your custom cardback.
Step 1) Make your template in the photo editing software, save templates in layers so they are easy to change.
Step 2) Finalize your picture and make sure it is to the proper dimensions to print
Step 3) Print
Step 4) Spray adhesive onto a comic book divider
Step 5) Place paper onto comic book divider (make sure the paper is flat and no bubbling occurs)
Step 6) Cut the cardback out of the comic book divider with scissors (I like to round corners) Some guys like to make size templates to cut the shape out with an exacto knife, up to you
The picture below shows the paper mounted to the comic book dividers, the darth sion is the only one that got through Step 6 the rest are at Step 5.
Step 7) Cut the pro-tech blister along the cerated hinge
Step 8) Round the edges of the bottom half of the pro-tech plastic as you site fit. I do it to get rid of the punch hole.
Step 9) Use your model cement or glue to go along the edge of the bottom part of the protech blister.
Step 10) Press the protech bottom half of the blister against the cardback firmly to have it adhere to the card.
Step 11) Place your figure in the top half of the bubble.
Step 12) Snap your top half of the blister onto the mounted bottom half and let it sit a while before trying to unsap the bubble. You don't want it to pull off the cardback.
Step 13) Enjoy your carded custom or previously loose figure. So it now looks like it is carded but you can remove it anytime by unsnapping the top half of the bubble from the mounted bottom half.
Thanks for stopping by!


.JPG)
.JPG)
.JPG)
.JPG)
.JPG)
.JPG)
.JPG)
.JPG)
.JPG)
.JPG)
.JPG)
.JPG)
.JPG)
.JPG)


